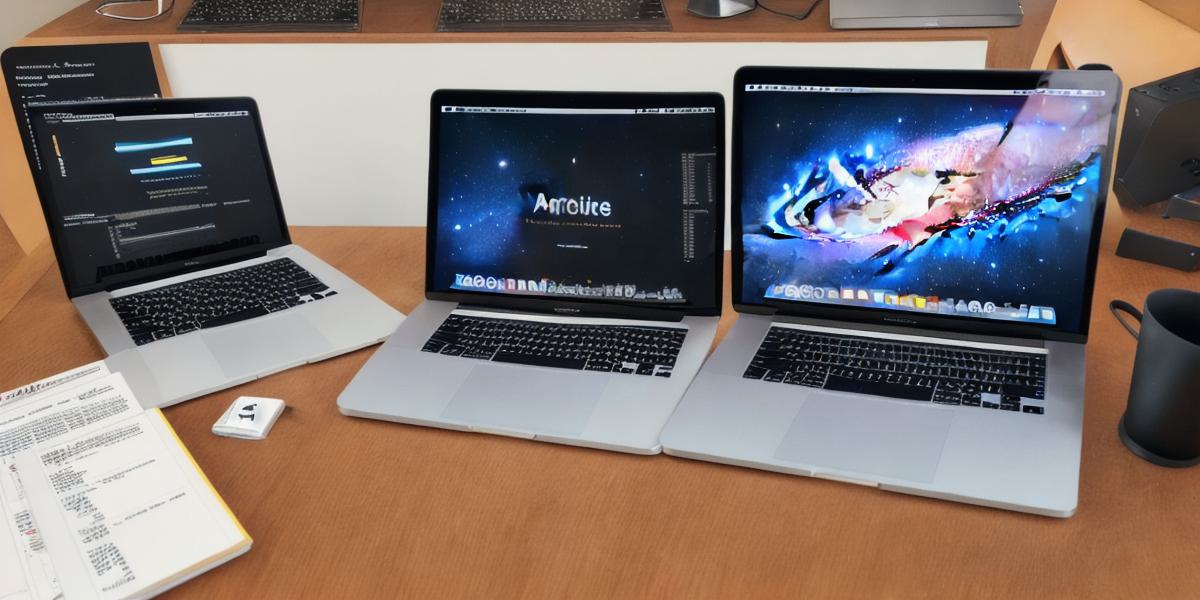
As a web developer, you might be interested in exploring new horizons by creating interactive 3D games using Unity, the popular game development engine. With Apple’s release of the Mac M1 chip, developing Unity games on this platform has become an enticing prospect. In this guide, we’ll discuss the steps to set up and develop Unity projects on your new Mac M1.
Prerequisites
Before diving into the development process, ensure you have the following:
- A Mac M1 computer
- The latest version of macOS (Monterey)
- A basic understanding of C programming and Unity Game Engine
Installing Unity on Mac M1
To install Unity, follow these steps:
- Go to the Unity Hub website and download Unity Hub.
- Install and launch Unity Hub, then sign in using your Unity account or create a new one.
- Click on the Installs tab and select Add.
- Choose the desired version of Unity and click Download & Install. Wait for the installation to complete.
Configuring Unity Project Settings
- Create a new Unity project using File > New Project or by importing an existing one into Unity Hub.
- Set the Graphics API to Metal (Apple’s graphics API) in the Player settings under the Mac, Linux Standalone section.
- Configure your project settings according to your game requirements.
Setting Up Your Development Environment
- Install Visual Studio Code or any other preferred code editor.
- Install .NET Core SDK for C scripting in Unity projects.
- Download the necessary assets and packages from the Unity Asset Store (optional).
Developing Your Game
With your environment set up, you can now start developing your game:
- Write your C scripts in Visual Studio Code or directly inside Unity using MonoDevelop.

- Create assets like models, textures, and animations using 3D modeling software like Blender or Maya, then import them into Unity.
- Set up your game logic by writing code, creating scenes, and adding components to your game objects.
Testing Your Game
To test your game on the Mac M1:

- Press the Play button in Unity to build and run your project.
- Once your game is running inside Unity Editor, you can test it using a connected controller or touch input (for touch-based games).
- To create a standalone build of your game for distribution, go to File > Build Settings and configure the settings accordingly before building your project.
Conclusion
Developing Unity games on Mac M1 offers web developers an opportunity to expand their skillset into game development. By following these steps and utilizing the power of Apple’s latest chip, you can create engaging 3D experiences for various platforms using Unity and C scripting.
