Welcome, web developers!
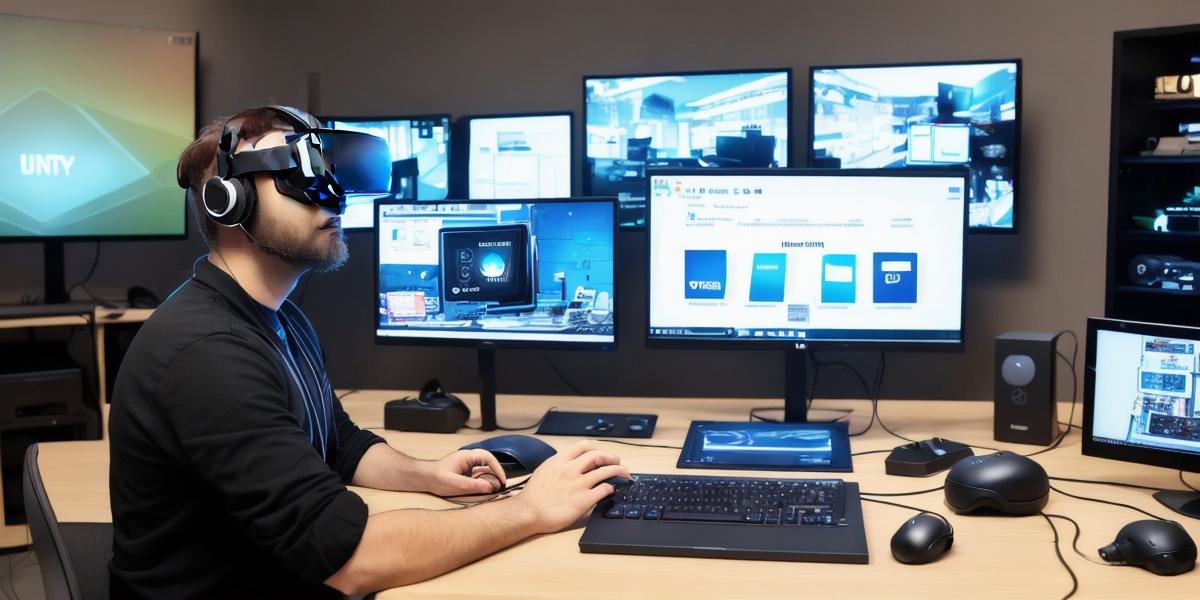
Today we’ll embark on a fascinating journey into the world of Virtual Reality (VR) development using Unity, a powerful and versatile game engine. Let’s dive in and explore how you can leverage your web development skills to create captivating VR experiences.
**Why Unity for VR Development?
**
Unity is an ideal choice for VR development due to its extensive support for various VR platforms, such as Oculus, HTC Vive, and Google Cardboard. It offers a user-friendly interface, robust features, and a vast community of developers sharing assets, tools, and knowledge.
**Setting Up Your Environment**
First things first! To begin your VR development journey with Unity, ensure you have the following prerequisites:
1. *
*Hardware:**
A capable computer meeting the minimum requirements for your chosen VR platform and headset.
2. **VR Headset:** An Oculus Rift, HTC Vive, Google Cardboard, or other compatible VR hardware.
3. **Unity:** Download and install Unity Hub and the Unity Editor with the VR support package.
4. **SDKs:** Install the required SDKs for your chosen VR platform (Oculus, HTC Vive, etc.).
**Creating Your First VR Project in Unity**
1. Launch Unity and create a new project.
2. Under the “Project” tab, select the “Virtual Reality Supported” template to initialize your project with VR-specific settings.
3. Configure your VR settings by selecting the VR platform in the “Player Settings.”
4. Begin designing your scene and creating your objects using the Unity editor, keeping in mind the principles of good VR design (e.g., minimizing motion sickness, ensuring comfortable player interactions).
**Adding Interactivity to Your Scene**
To create engaging experiences, you’ll need to add interactivity to your scenes. This can be achieved using Unity’s built-in components and scripts or by utilizing third-party assets from the Unity Asset Store. For instance, you might add physics interactions, input mappings, or raycasting for grabbing objects.
**Testing Your VR Project**
Once your scene is designed and interactive elements are added, it’s time to test your project using your VR headset! Connect your headset to your computer and press the “Play” button in Unity. Follow the on-screen instructions to properly configure your settings for optimal VR performance.
**Conclusion**
Web developers possess a unique skill set that can be applied to VR development using Unity. By following these steps, you’ll have a solid foundation upon which to build captivating VR experiences. Happy developing!
Don’t forget to explore the Unity Asset Store and community for valuable resources and knowledge-sharing opportunities. Remember that creating engaging VR content takes time and patience, but the rewards are truly immersive and rewarding experiences for users.