If you’re a web developer looking to dip your toes into Unity Virtual Reality (VR) game development, this guide is here to help you get started! Unity, a powerful cross-platform game engine, offers comprehensive support for creating immersive VR experiences. In this article, we’ll cover the prerequisites, tools, and steps for setting up your Unity VR project.
Prerequisites
First things first: make sure you have the following:
- Basic knowledge of C: Unity uses C as its primary programming language. If you’re new to C, consider taking some online tutorials or courses before starting your VR project.
- Hardware requirements: Check that your computer meets the minimum hardware requirements for Unity and VR development (https://docs.unity3d.com/Manual/VRRequirements.html).
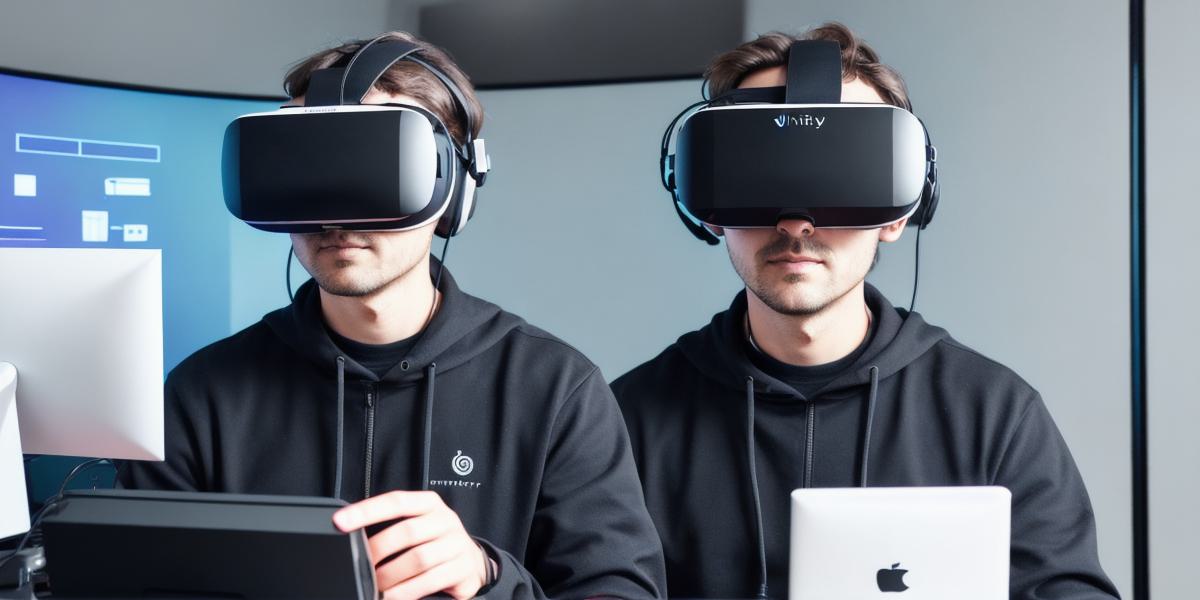
- VR headset: A VR headset is essential for creating and testing your VR games. Popular options include Oculus Rift, HTC Vive, and Google Cardboard.
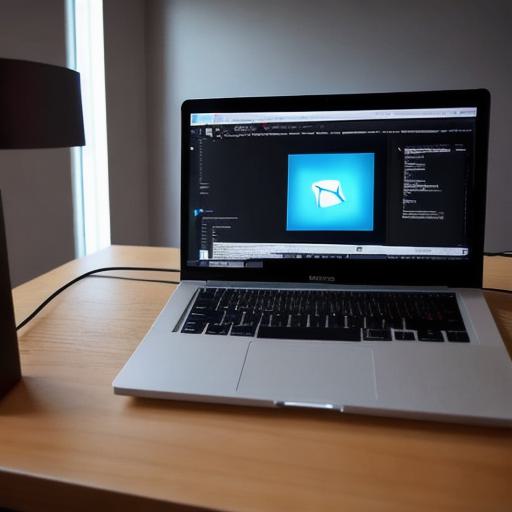
- Unity installation: Download and install the latest version of Unity (https://unity.com/download). Install the VR packages during setup.
Tools and Software
- Visual Studio: For C programming, Microsoft Visual Studio is a popular choice for its powerful debugging tools and excellent integration with Unity. You can download it for free from Microsoft’s website (https://visualstudio.microsoft.com/vs).
- VR Editor in Unity: The VR Editor in Unity offers features tailored to virtual reality development, including support for VR input devices and the ability to preview your game in real-time using your headset.

- Assets Store: Visit the Unity Asset Store (https://assetstore.unity.com) to find free or paid assets that can help speed up your development process, such as VR templates, 3D models, and scripts.
Setting Up Your Project
- Create a new project: In Unity, choose "Virtual Reality" as the project template when creating a new project. Select the desired VR platform (e.g., Oculus or OpenVR) and click "Create."
- Import your assets: Add 3D models, textures, and other assets to your project by dragging and dropping them into the Assets folder in the Project window.
- Set up the scene: Design your game levels in the Scene view. Place your 3D objects, add lighting, and create scripts for interactivity using C.
- Test your game: Press the "Play" button to test your game in the VR Editor. Use your VR headset and controllers to experience your creation in a fully immersive environment.
Conclusion
Unity’s powerful features make it an excellent choice for web developers looking to explore virtual reality game development. By following these steps, you’ll have a solid foundation to build upon as you learn the intricacies of creating engaging and interactive VR experiences.