Introduction
Unity is a popular game development engine used by professionals and hobbyists alike to create immersive 3D and 2D games. As a web developer, expanding your skillset to Unity game development using C can broaden your horizons in the tech industry. In this comprehensive guide, we’ll walk you through the essential steps to get started with Unity and C programming.
**Step 1: Setting Up Your Development Environment**
To start, download and install the latest version of Unity Hub from the official website (https://unity3d.com/get-started). Unity Hub is a standalone application that helps you manage multiple Unity projects and versions. After installation, sign in with your Unity account or create a new one. You’ll then be able to download the appropriate version of Unity for game development.
**Step 2: Learning C Basics**
Before diving into Unity-specific concepts, familiarize yourself with C basics. Microsoft’s official documentation (https://docs.microsoft.com/en-us/dotnet/csharp/) is a great resource for learning the language. Additionally, you can find numerous free and paid online courses to help you grasp the fundamentals of C programming.
**Step 3: Installing Unity Assets**
Unity’s Asset Store (https://assetstore.unity.com/) provides a wide range of free and premium assets for various game development needs. To install an asset, simply download it from the Asset Store, import it into your Unity project, and follow any included instructions.
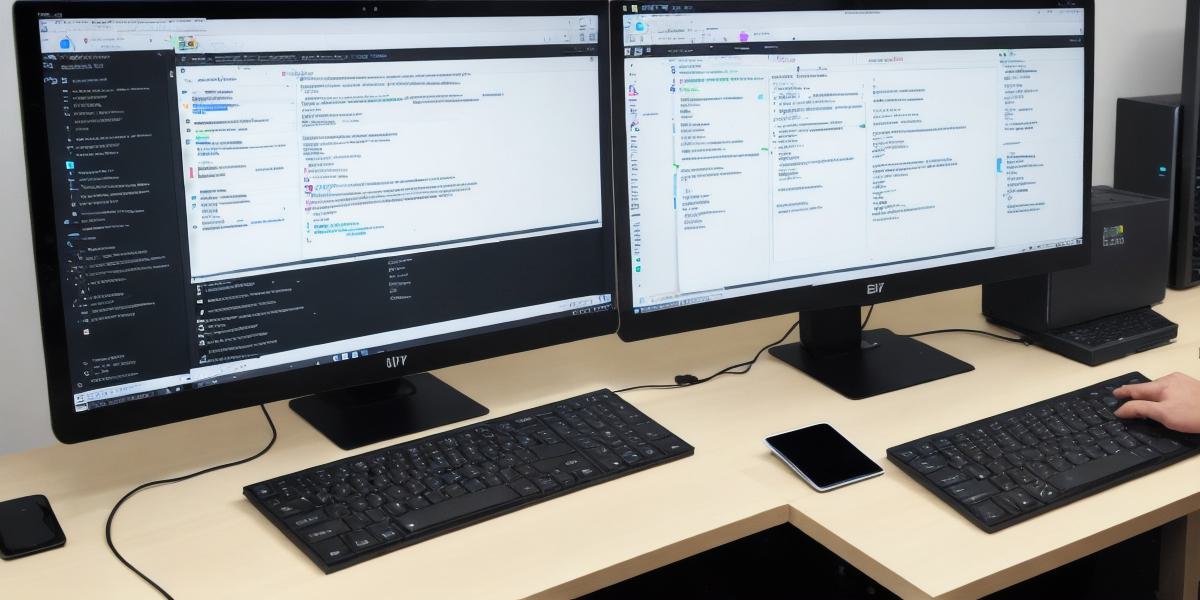
**Step 4: Understanding Unity Interface**
Familiarize yourself with Unity’s interface by exploring the following components:
**Scene View:**
The primary workspace for designing game levels and objects.
**Game View:** Displays how your game looks and behaves in real time.
**Hierarchy Window:**
Organizes all objects within the current scene.
**Inspector Window:** Provides detailed information about selected objects and components.
**Project Window:** Manages all assets, scripts, scenes, and prefabs used in your project.
**Step 5: Creating Your First Project**
Create a new Unity project by clicking “New” under the “Create” tab in Unity Hub. Choose a template that fits your needs, such as 3D or 2D, and give your project a name. Once you’ve set up your scene, create a new script using C to control game objects and logic.

**Step 6: Building Your Game**
When you’re ready to test your game, build it by going to “File” > “Build Settings.”
Choose your platform (WebGL for web games) and click “Build.”
Once the build process is complete, open the generated HTML file in a web browser to test your game.
**Conclusion**
By following these steps, you’ll have successfully set up your development environment, familiarized yourself with C basics, and created your first Unity project using C programming. As you continue to explore Unity’s extensive features, you’ll be able to develop engaging games for various platforms.