Unleashing the Power of Unity Development on a Mac Mini: A Comprehensive Guide for Web Developers
Introduction

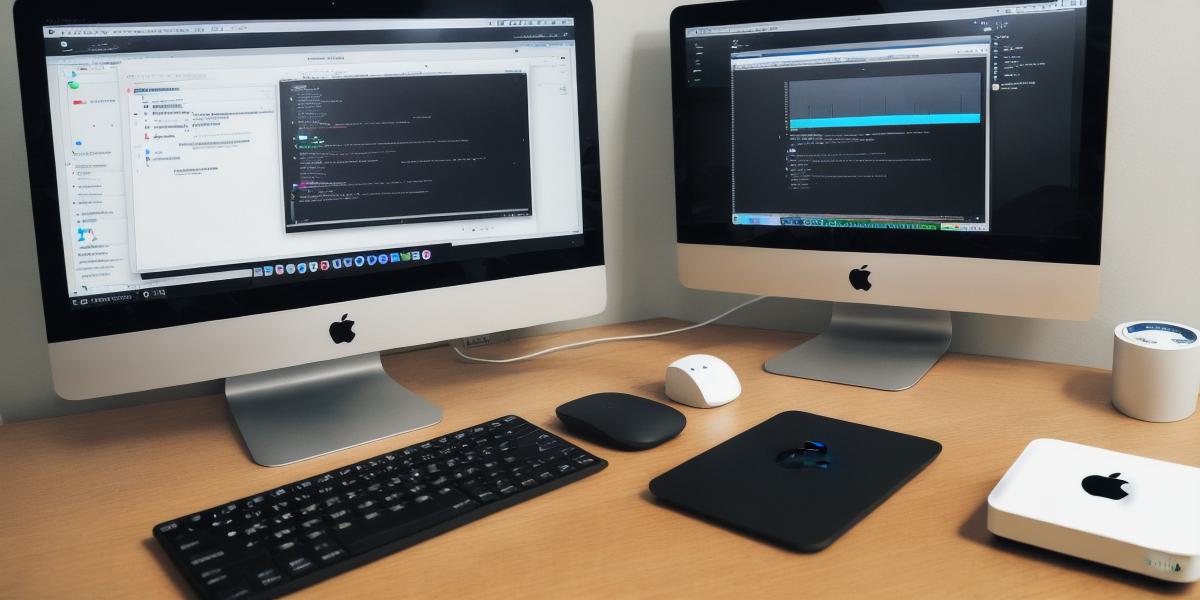
Welcome, web developers!
In today’s dynamic digital world, integrating multimedia elements into your web projects can significantly enhance user experience. Unity, a powerful cross-platform game engine, offers an excellent solution to create rich interactive 3D and 2D content for the web using its built-in WebGL support. In this guide, we will explore how to set up and effectively use a Mac Mini for Unity development.
**System Requirements and Preparation**
First things first: ensure your Mac Mini meets the minimum Unity system requirements, which include macOS 10.12 or higher, an Intel Core i5 processor, and 4GB of RAM. If necessary, upgrade your hardware or consider using external resources for more demanding projects.
Before you dive into Unity development, install the latest version of Xcode from the Mac App Store, as it comes bundled with the required command-line tools. Additionally, ensure you have a stable internet connection and a text editor like Visual Studio Code to write scripts if needed.
**Installing Unity Hub and Project Creation**
Unity Hub is a centralized platform for managing multiple Unity versions and projects. Download it from the official Unity website and install it on your Mac Mini. Once installed, sign in with your Unity account or create a new one to access the latest version of Unity and manage your projects.
Create a new 3D or 2D project within Hub by clicking the “New Project” button. Select a template, name your project, and choose a location on your Mac Mini for storage. You’re now ready to begin building your interactive web content using Unity!
**Setting Up Your Development Environment**
To create a WebGL build, enable the “WebGL Support” option in the Unity Editor under “Player Settings.” Additionally, ensure that the WebGL build is selected when you click on “Build and Run.”
For optimal performance, adjust your project’s graphics settings to meet the web’s low-power requirements. This can include reducing textures’ resolution, enabling occlusion culling, and disabling unnecessary features like shadows and reflections.
**Scripting and Integration with Web Technologies**
Unity supports C scripting for both game logic and user interactions. Write your scripts in a code editor or directly within the Unity Editor. Once you’re satisfied with your script, import it into your project and attach it to the relevant GameObject.

To integrate Unity content with HTML, CSS, and JavaScript, utilize popular web frameworks such as A-Frame or Three.js. These libraries enable seamless communication between your web pages and your Unity project, allowing you to create immersive user experiences that blend rich interactive 3D elements with the web.
**Summary: Creating Engaging Web Projects with a Mac Mini and Unity**
With this comprehensive guide in hand, you’re now well-equipped to use your Mac Mini for Unity development and create captivating web projects that leverage the power of interactive 3D and 2D content. Whether it’s an immersive game, a visually appealing presentation, or a highly engaging user interface, the possibilities are endless.
Happy developing! If you have any questions or need further clarification on any topic discussed here, please don’t hesitate to ask.