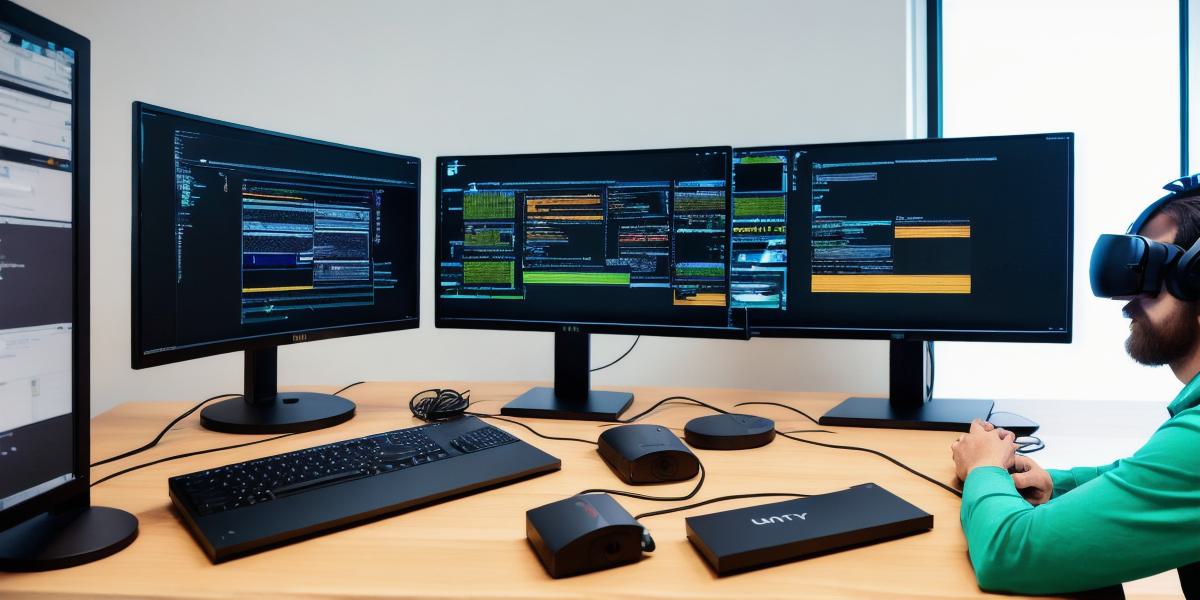
Developing Virtual Reality Applications using Unity on Linux:
A Comprehensive Guide for Web Developers**
As a web developer, you may be interested in expanding your skills and exploring new technologies, such as virtual reality (VR). Unity, a powerful game engine, has become a popular choice for creating immersive VR experiences. In this guide, we will walk you through the process of developing VR applications using Unity on Linux.
Prerequisites

Before diving into the development process, ensure you have met the following requirements:
- Linux Distribution: Choose a Linux distribution that supports OpenVR or SteamVR, such as Ubuntu 18.04 or 20.04.
- Hardware Requirements: Ensure your system meets the minimum requirements for running Unity and VR development. These include a powerful CPU, dedicated graphics card (preferably NVIDIA), and at least 8GB RAM.
- Software Installation: Install Unity Hub, which provides access to multiple Unity versions, and the desired Unity version supporting Linux VR development.
- VR Hardware Setup: Connect your VR headset (HTC Vive or Oculus Rift) and controllers to your Linux system.
Getting Started with Unity on Linux
- Install the Latest Version of Unity: Use the Unity Hub application to download and install the latest version of Unity supporting Linux VR development.
- Create a New Project: Launch Unity, create a new 3D project, and choose the "Virtual Reality Supported" template.
- Configure Your Project for VR Development: In the Unity Editor, go to
File > Build Settings > Player Settings, and select the Virtual Reality Supported template under XR Plugin Management. - Import Assets: Add your 3D models, textures, and other assets into the project as necessary.
- Build the Scene: Once you’ve configured the environment and added assets, build the scene by going to
File > Build Settings > Build. Select the desired platform (Linux), and generate the project files using the Build Pipeline.
Creating Interactions and Experiences in Unity for VR
- Input Mapping: Configure input mapping for VR devices, such as controllers, to interact with objects in your scene.
- Scripting: Use C scripts to create interactions, logic, and complex behaviors.
- Building the VR Experience: Create a captivating user experience by incorporating storytelling elements, sound design, and visual effects.
- Optimization: Optimize your VR application for performance on various Linux systems, focusing on reducing load times and improving frame rates.
- Testing and Iteration: Test your VR application using the Unity Editor’s built-in VR preview or by connecting your VR headset and controllers. Iterate to refine the experience based on user feedback and performance metrics.
Deploying Your Linux VR Application
Once you have completed development, testing, and optimization of your VR application, you can share it with others. To do this, build your project for the desired Linux platform using Unity’s Build Pipeline and package the generated files into a format compatible with major VR headsets, such as the SteamVR Store or OpenVR Hub.

Summary
In summary, developing virtual reality applications using Unity on Linux is an accessible and exciting way for web developers to expand their skillset. By following this comprehensive guide, you’ll be well on your way to creating captivating VR experiences for users on various Linux systems.
