Welcome, web developers, to the captivating world of Unity 2D game development! This powerful engine offers a dynamic platform to create immersive, interactive experiences that can be shared across various platforms, including the web. In this comprehensive guide, we’ll walk you through the essential steps to get started with Unity 2D game development.
1. Prerequisites: Setting Up Your Development Environment
Before diving into Unity 2D game development, ensure that your development environment is well-prepared:
- Install Unity Hub: Unity Hub is the central application used to access, manage, and install various versions of Unity, including Unity 2D. Download it from the official Unity website.
- Install Unity 2D: From Unity Hub, select ‘Installs’ and click on the ‘+ Add’ button. Choose the latest version of Unity 2D, download, and install it.
- Familiarize yourself with Visual Studio Code or your preferred text editor, as you will be using it for scripting in C.
2. Creating Your First Project: The Foundation
- Launch Unity Hub and open a new project by selecting ‘New 2D Project.’
- Name your project and choose a location to save it. Click on ‘Create.’
- Explore the Unity Editor interface, which includes the Hierarchy, Scene, Game, Assets, and Project windows.
- Acquaint yourself with fundamental game objects such as Sprite, Rigidbody2D, Box Collider 2D, and Text.
3. Developing Your Game:
Scripting and Visual Effects
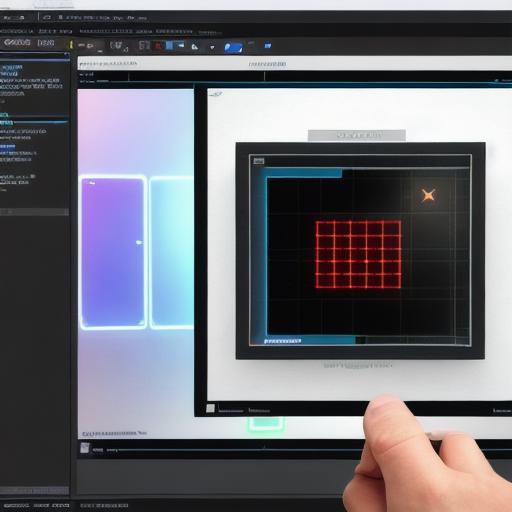
- Create your first C script by right-clicking in the Assets folder and selecting ‘Create > C Script.’ Name it accordingly.
- Double-click on the script to open it in your preferred text editor or Visual Studio Code.
- Implement the logic for your game using basic functions, loops, and conditional statements.
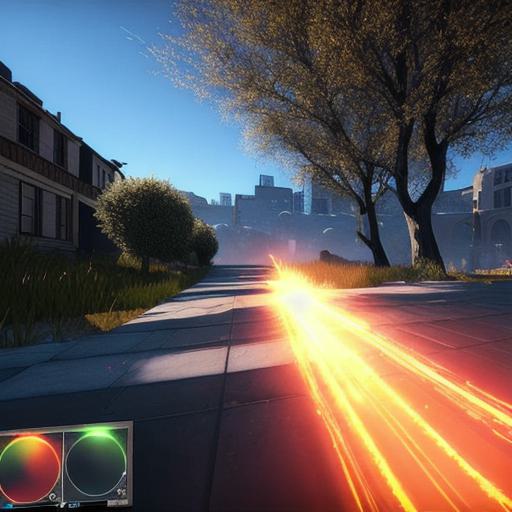
- Create visual effects such as particle systems, animations, and sound effects by importing and customizing available assets.
4. Exporting Your Game:
Sharing the Fun
- Once satisfied with your creation, it’s time to share your Unity 2D game across various platforms.
- In Unity Editor, select ‘File > Build Settings.’
- Choose the desired platform, such as WebGL for web export. Set up your build settings and click on ‘Build.’
- Once the build process is complete, locate your exported project files and upload them to your preferred web hosting platform.
- Share the link with friends, family, or the world, and watch as they engage in your innovative creation!
**Summary: Embracing Unity 2D Game Development**
Unity 2D game development holds vast potential for web developers, offering an engaging and dynamic avenue to expand their skillset and create immersive experiences. With this comprehensive guide as your foundation, you’ll be well on your way to developing captivating games that can reach a global audience.