Unleashing Immersive Web Experiences: A Beginner’s Guide to Creating Virtual Reality Projects in Unity
Introduction
Hello web developers! Today, we’re going to embark on an exciting journey into the realm of virtual reality (VR) development using Unity. Unity is a powerful cross-platform game engine that also caters to creating immersive VR experiences. Let’s demystify this technology and explore how you can get started with developing VR projects in Unity, specifically for web applications.
**Why Unity for VR Development?
**
Unity offers several reasons why it is an excellent choice for VR development:
1. **Supports Multiple Platforms:** Unity provides support for various VR platforms, including WebXR and popular headsets like Oculus Go, Rift, HTC Vive, and Google Cardboard.

2. **Asset Store:** Unity’s Asset Store offers a wide range of free and paid VR assets, saving you time and effort in creating custom content from scratch.
3. **Built-in VR Support:** Unity comes with built-in VR support, allowing you to create engaging VR environments and applications easily.
**Getting Started: Prerequisites**
Before we dive into the development process, make sure you have the following prerequisites in place:
1. *
*Hardware:**
A compatible VR headset or a computer powerful enough to run your preferred VR platform.
2. **Software:** Install Unity Hub and download the latest version of Unity with VR support.
3. **Understanding of HTML5, WebGL, and JavaScript:** As we’re targeting web applications, having a solid foundation in these technologies will be beneficial.
**Setting Up Your Development Environment**

1. **Install Unity:** Follow the installation instructions for Unity, ensuring you have VR support installed.
2. **Install WebGL Support:** Download and install Post-processing Stack and the WebGL packaging template to enable advanced rendering features in your web application.
3. **Create a New Project:** Launch Unity and create a new 3D project with the XR Interaction Toolkit and the VRTK (Viveport Interaction Toolkit) packages installed for added functionality.
**Creating Your First VR Scene**
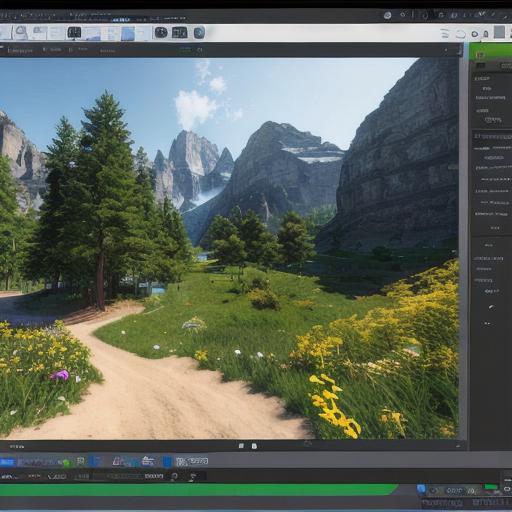
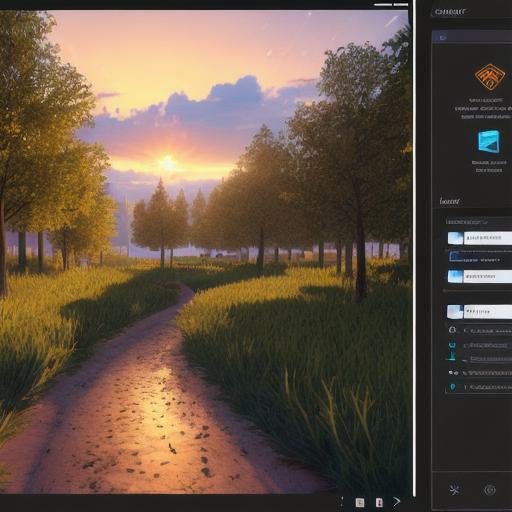
1. **Design Your Scene:** Create a basic scene, such as a room with interactive objects. Use Unity’s VR prefab templates to create the environment and assets.
2. **Add Interactivity:** Add scripts and interactions using tools like the XR Interaction Toolkit or VRTK to make your objects respond to user input in VR.
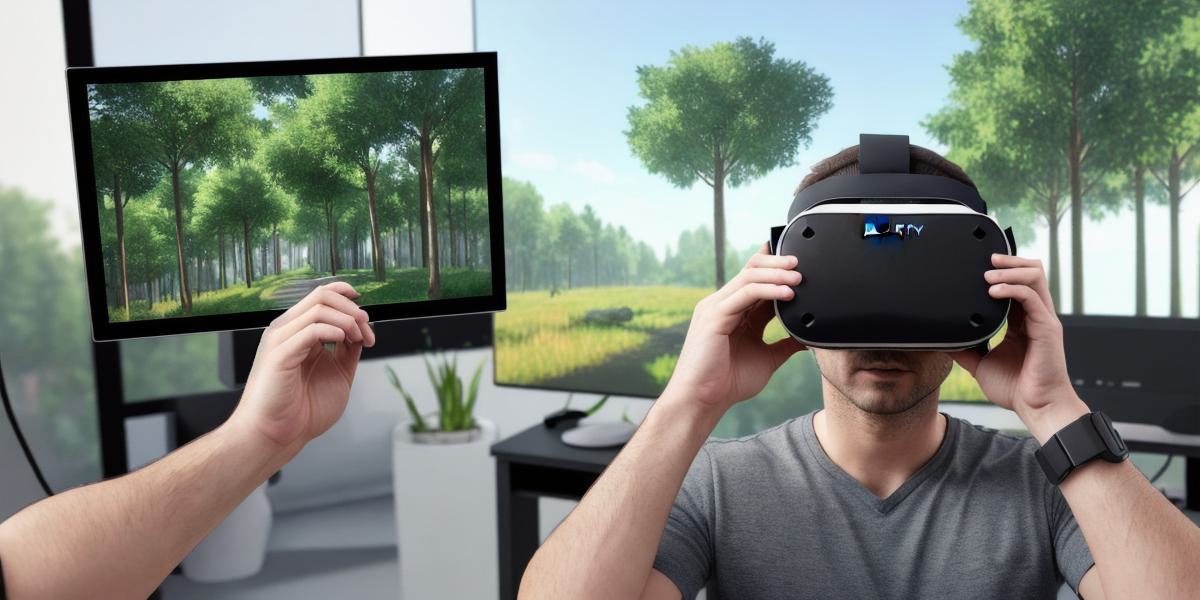
3. **Test Your Scene:** Preview your scene in the Unity Editor using a VR headset or the Oculus Go Emulator. Make adjustments as needed.
**Exporting Your Project for the Web**
1. **Prepare Your Project for Export:** Set up your project to build for WebGL and ensure all assets are optimized for the web.
2. **Build Your Project:** Generate a web-ready .html, .js, and .wasm file using Unity’s Build Pipeline.
3. **Implement Your VR App:** Embed the generated files in an HTML5 canvas element or iframe on your webpage to make your VR application accessible to users.
**Conclusion**
Developing a VR experience for the web with Unity can be an enriching and engaging process. By following these steps, you’ll have taken your first venture into creating immersive, interactive virtual environments that can be accessed from anywhere using a web browser. Keep refining your skills and experimenting with new features to expand the possibilities of what you can achieve with Unity and VR technology.
