
Introduction
Hey there, web developers! Today, we’re going to embark on an exciting journey into the world of mobile game development using Unity, specifically for Android. Unity is a powerful cross-platform engine that provides us with the flexibility and creativity to build high-performance 2D and 3D games. In this guide, we’ll cover the essential steps for setting up your development environment, creating a basic project, and exporting it to run on Android devices.
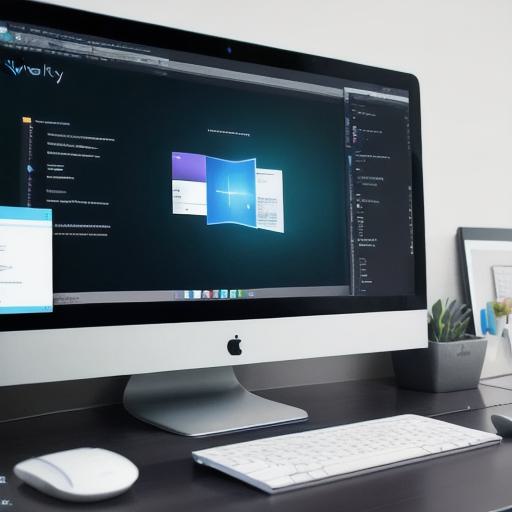
Setting Up Your Development Environment
First things first: let’s make sure you have all the necessary tools installed. To start developing Unity games for Android, follow these simple steps:
- Install Unity Hub: Unity Hub is a standalone application that allows you to manage multiple Unity versions and projects easily. Visit their official website, sign up for an account, and download the latest version of Unity Hub.
- Install Unity: After installing Unity Hub, use it to install your desired Unity version (we recommend using the latest LTS version). During the installation process, make sure to tick the box that says "Visual Studio," which will enable Android support in Unity later on.
- Configure Visual Studio: Visual Studio is an optional but recommended addition for debugging and writing custom scripts in C. Install Visual Studio if you don’t already have it, then configure it for Unity by following these instructions: https://docs.unity3d.com/Manual/android-vs2017.html
Creating a New Project
Now that our development environment is all set up, let’s create a new project to begin developing our Android game.
Follow these steps:
- Launch Unity: Open Unity Hub and click on the "New Project" button under your desired installed Unity version.
- Select 2D or 3D: Choose whether you want to start with a 2D or 3D project, depending on your preference and game concept.
- Set Up Your Scene: Create objects, add components, and set up your scene as desired. Unity’s Asset Store also offers a wealth of free and paid assets that can help speed up development.
Exporting to Android
With our project ready, it’s time to export it for Android.
Here are the steps:
- Build Settings: In the Unity editor, go to "File" > "Build Settings," then select "Android" as your platform and set up your build settings according to your preferences (resolution, orientation, etc.).
- Exporting: Click on the "Build" button at the top of the window, then choose a location for your exported APK file.
- Setting Up Your Android Device: Connect your Android device to your computer using a USB cable, then enable "Developer options" and "USB debugging" in your device settings.
- Installing the App: Use Android Studio or the Unity editor’s built-in export tool (available with Unity Pro) to install the APK file on your Android device.
Conclusion
And there you have it, web developers! We’ve covered the essential steps for setting up your development environment, creating a basic project, and exporting it to run on Android devices. With these tools and knowledge at your disposal, you’re well on your way to developing engaging, high-quality mobile games using Unity for Android.