Welcome, web developers!
If you’ve ever pondered the idea of expanding your skillset to include game development, I’m thrilled to introduce you to Unity – an intuitive and powerful platform that caters to both beginners and seasoned professionals. In this extensive yet concise guide, we’ll cover the fundamental steps to get started with Unity for web development projects.

**1. Prerequisites: Essential Tools and Knowledge**
Before diving into game development using Unity, ensure you have a solid foundation in HTML5, CSS3, JavaScript, and version control systems like Git. Familiarize yourself with basic concepts such as vectors, matrices, and transformations – all crucial to creating engaging web games.
**2. Installing Unity: A Seamless Setup Process**

To begin, download the free version of Unity Hub from the official Unity website (unity3d.com). This installer facilitates the setup process for various Unity products, including the Personal edition which is ideal for beginners and web projects. During installation, opt to include the Unity Editor, Unity WebGL Build Support, and the Visual Studio Code editor extension for a seamless development experience.
**3. Learning the Unity Interface:
A User-Friendly Dashboard**
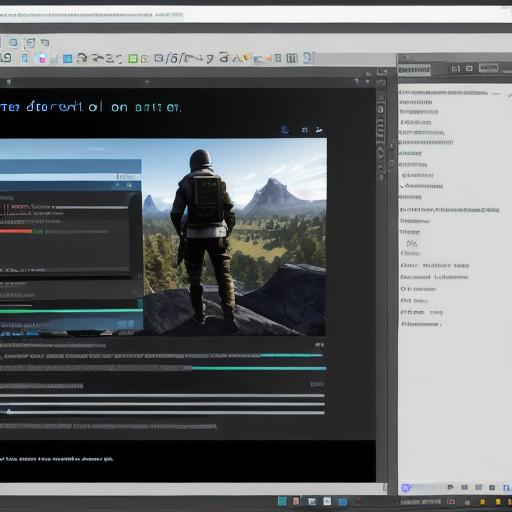
Upon opening Unity, take some time to familiarize yourself with its interface. The Scene view, Game view, Hierarchy window, Inspector window, and Project window are fundamental areas to understand. These tools will serve as your canvas for designing game objects, manipulating properties, and importing assets.
4. Creating Your First Unity Project: A Web-Ready Game
Initiate a new project by selecting "3D" or "2D" depending on your preference under the "New Project" dialog box. Provide a suitable name for your project and choose the location for your project files. Once created, explore the Project window to locate and import any necessary assets such as 3D models, textures, or sound effects using the Assets > Import Package menu.
5. Scripting: Coding Your Game Logic
Unity supports several programming languages, including C and JavaScript. For web development projects, we recommend using C for its superior performance and versatility. Create a new script by right-clicking in the Project window and selecting "Create > C Script." Within this file, write code to control game objects’ behavior, physics, and other dynamic elements.
6. Building Your Game: WebGL Export
To make your creation web-accessible, build it for WebGL by navigating to File > Build Settings, selecting the WebGL platform under "Platforms," and clicking on "Build." This process will generate a .html file, a .js file, and other essential files required for running your game in a web browser.
7. Publishing Your Game:
Sharing the Fun
Once you’ve built your game, it’s time to share it with the world!
You can self-host your HTML file on a web server or use content delivery networks like GitHub Pages for free hosting and easy deployment. Embed the game into your website using an iframe tag for effortless integration.
**8. The Power of Unity: A Game Changer**
With these steps mastered, you’ll be well on your way to creating captivating web games using Unity. This powerful platform offers endless opportunities for innovation and growth, ensuring an exciting journey for both novice and experienced developers alike.
