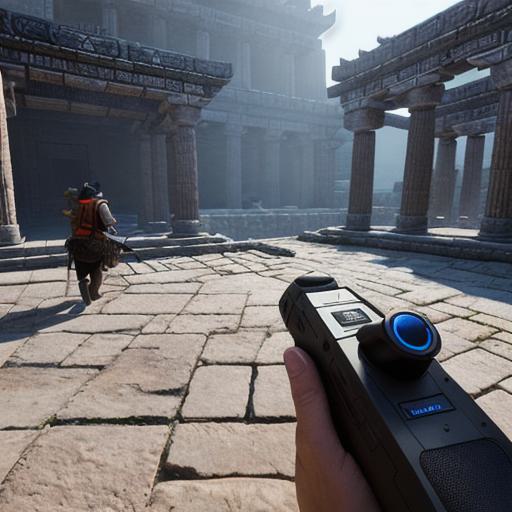
Meta Quest 2, the latest virtual reality headset from Facebook, opens up a world of opportunities for web developers to create immersive experiences. In this guide, we’ll explore how you can develop for Meta Quest 2 using Unity, one of the most popular game engines.
Getting Started with Unity and Meta Quest 2
First, let’s ensure that you have all the necessary tools to begin your development journey.
To create applications for Meta Quest 2 using Unity:
- Download and install Unity Hub (https://unity3d.com/get-started). This is a centralized hub where you can manage multiple versions of Unity and access templates, documentation, and other resources.
- Install the XR Plugin Support package for Unity from the Asset Store (https://assetstore.unity.com/packages/tools/xr/xr-plugin-support-105339). This plugin enables Unity to interface with Meta Quest 2 hardware.

- Sign up for a Meta Developer Account (https://developers.facebook.com/devices/vr/) if you don’t already have one and create a new project in the Oculus Dashboard.
- Download the Oculus Integration package from the Unity Asset Store (https://assetstore.unity.com/packages/tools/xr/oculus-integration-130769). Import it into your Unity project to interact with the Oculus SDK and manage various aspects of Meta Quest 2 development.
Creating Your First Meta Quest 2 Application in Unity

Let’s create a simple 3D scene as an example application:
- Create a new 3D project in Unity.
- Import the Oculus Integration package and configure it accordingly in the Project settings (Edit > Project Settings > XR Plugin Manager).
- Add a 3D object to your scene using the Asset Library or by importing one from an external source.
- Position your 3D object as desired in the scene, using the Oculus Rift’s headset tracking to set up accurate positional data.
- Add script components to control the behavior of your object. For example, add a script to make it move when you press a specific button on the Meta Quest 2 controller.
- Build and run your application on Meta Quest 2 using the Unity Editor.
Summary: Exploring the World of Meta Quest 2 Development with Unity
Developing for Meta Quest 2 using Unity opens up a new realm of possibilities in creating immersive, interactive experiences. By following this guide, you’ve gained the foundational knowledge to start developing applications for Meta Quest 2 with Unity. As you delve deeper into the development process, you can expand your horizons by exploring more advanced features, such as multiplayer support, physics engines, and more complex scripting techniques.
