Introduction
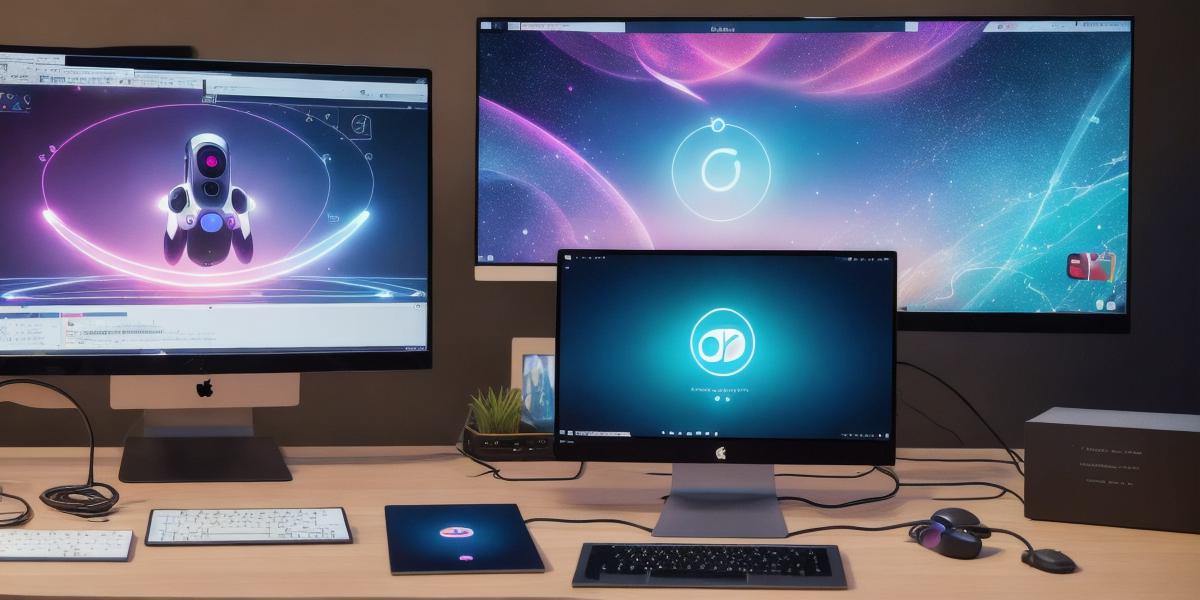
Magic Leap 2, the latest creation from Magic Leap, Inc., is a revolutionary augmented reality headset designed to bring digital objects into the real world. As a web developer, you might be intrigued by the opportunity to expand your skill set and create immersive AR experiences. In this guide, we’ll walk you through the process of setting up your development environment and creating a simple project using Unity.
Prerequisites

Before diving into the development process, make sure you meet the following requirements:
- Install Unity Hub: The hub is a standalone application that helps manage your Unity installations and versions. Download it from the Unity website.
- Install Magic Leap Unity Package: This package includes all the necessary components to develop for Magic Leap 2 within Unity. You can download it from the Magic Leap Developer Portal.

- Set up your Magic Leap 2 Development Kit: Follow the instructions provided in the Magic Leap Developer Portal to configure your headset and set up your development environment.
Setting Up Unity for Magic Leap 2
-
Create a new Unity Project: Launch Unity Hub, create a new project using the latest version of Unity with the Magic Leap template.
-
Import Magic Leap Package: Go to Assets >
Import Package >
Custom >
MagicLeap and import the Magic Leap package. This will bring in all the necessary components for AR development on Magic Leap 2.
-
Configure your project settings: In the Project Settings, make sure you have set the correct XR Plugin Management and XR Settings for Magic Leap 2.
Creating a Simple Magic Leap 2 Project
-
Create a new scene: Start by creating a new scene with an empty game object. This will be the canvas for your AR experience.
-
Add a prefab: Magic Leap provides a range of prefabs that you can use to get started quickly. For instance, add a simple text object (TextMeshPro) or a 3D model (from the Assets >
Import Package >
Custom >
MagicLeap >
Prefabs folder).
-
Configure your prefab: Attach relevant components like Text and Materials to configure your prefab as desired. For example, for a text object, you can change the text content or font size.
-
Test your project: Press the Play button in Unity and put on your Magic Leap 2 headset to see your creation come to life.
Summary
Developing for Magic Leap 2 using Unity opens up a new world of possibilities for web developers looking to explore AR development. With this guide, you’ve learned the basics of setting up an environment, creating a project, and testing it on your Magic Leap 2 headset. As you continue to learn and experiment, you’ll uncover even more features and capabilities that will help you create truly immersive AR experiences.
