Introduction
Unity, a powerful game engine, offers developers the unique ability to create interactive 3D and 2D content for various platforms, including web. Unity WebGL is a popular choice for creating web applications with real-time interactive graphics. In this guide, we will explore the steps required to build a Unity WebGL development project as a web developer.

**Step 1: Setting Up Your Development Environment**
Before starting, ensure you have the following prerequisites in place:
- Install Unity Hub and Unity editor (2019 or later versions).
- Familiarize yourself with C scripting and HTML/CSS/JavaScript for web development.
- Install Visual Studio Code or your preferred code editor.
- Set up Git for version control (optional but recommended).
**Step 2: Creating a New Unity Project**

- Launch Unity Hub, log in, and create a new project by clicking the ‘Create’ button.
- Name your project and select a location for saving it.
- Choose an empty project template as a starting point.
- Set up your project settings according to your needs (e.g., resolution, aspect ratio).
**Step 3: Designing Your Unity Scene**
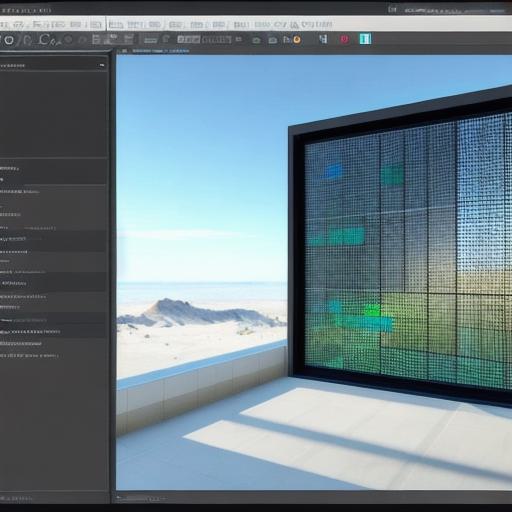
- Create a new scene by selecting ‘File > New Scene’.
- Add assets and objects to the scene using the Asset Store or custom models.
- Use the Transform component to position, rotate, and scale your objects.
- Apply textures and materials for visual effects.
- Set up lighting in your scene for realistic rendering.
**Step 4: Writing Scripts (C)**
- Add C script components to your objects for interactivity.
- Use MonoBehaviour as the base class for your scripts.
- Write code to handle user interactions, game logic, and physics.
- Attach scripts to your game objects using the Inspector window.
**Step 5: Building Your Unity Project for WebGL**
- Once you are satisfied with your scene and scripting, click ‘File > Build Settings’.
- Change the platform to WebGL under the ‘Player Settings’.
- Configure your build settings (e.g., optimization levels).
- Click ‘Build’ to generate your Unity WebGL project files.
**Step 6: Preparing Your HTML, CSS, and JavaScript Files**
- Create an ‘index.html’ file for the structure of your webpage.
- Include the Unity WebGL build files in your HTML using ‘script’ tags.
- Write custom HTML/CSS/JavaScript to integrate Unity with your webpage.
- Test your project in a web browser and make adjustments as needed.
Summary
By following these steps, you will have successfully built a Unity WebGL development project for the web. The combination of real-time 3D graphics from Unity and web technologies like HTML/CSS/JavaScript can lead to engaging and interactive user experiences.
